
Writerly Play Kit FOR EDUCATORS
Tap Into Your Own Voice
Writerly Play for Educators
Tap Into Your Own Voice
Summer is here! We hope you’ve already had time to relax and celebrate a school year well completed.
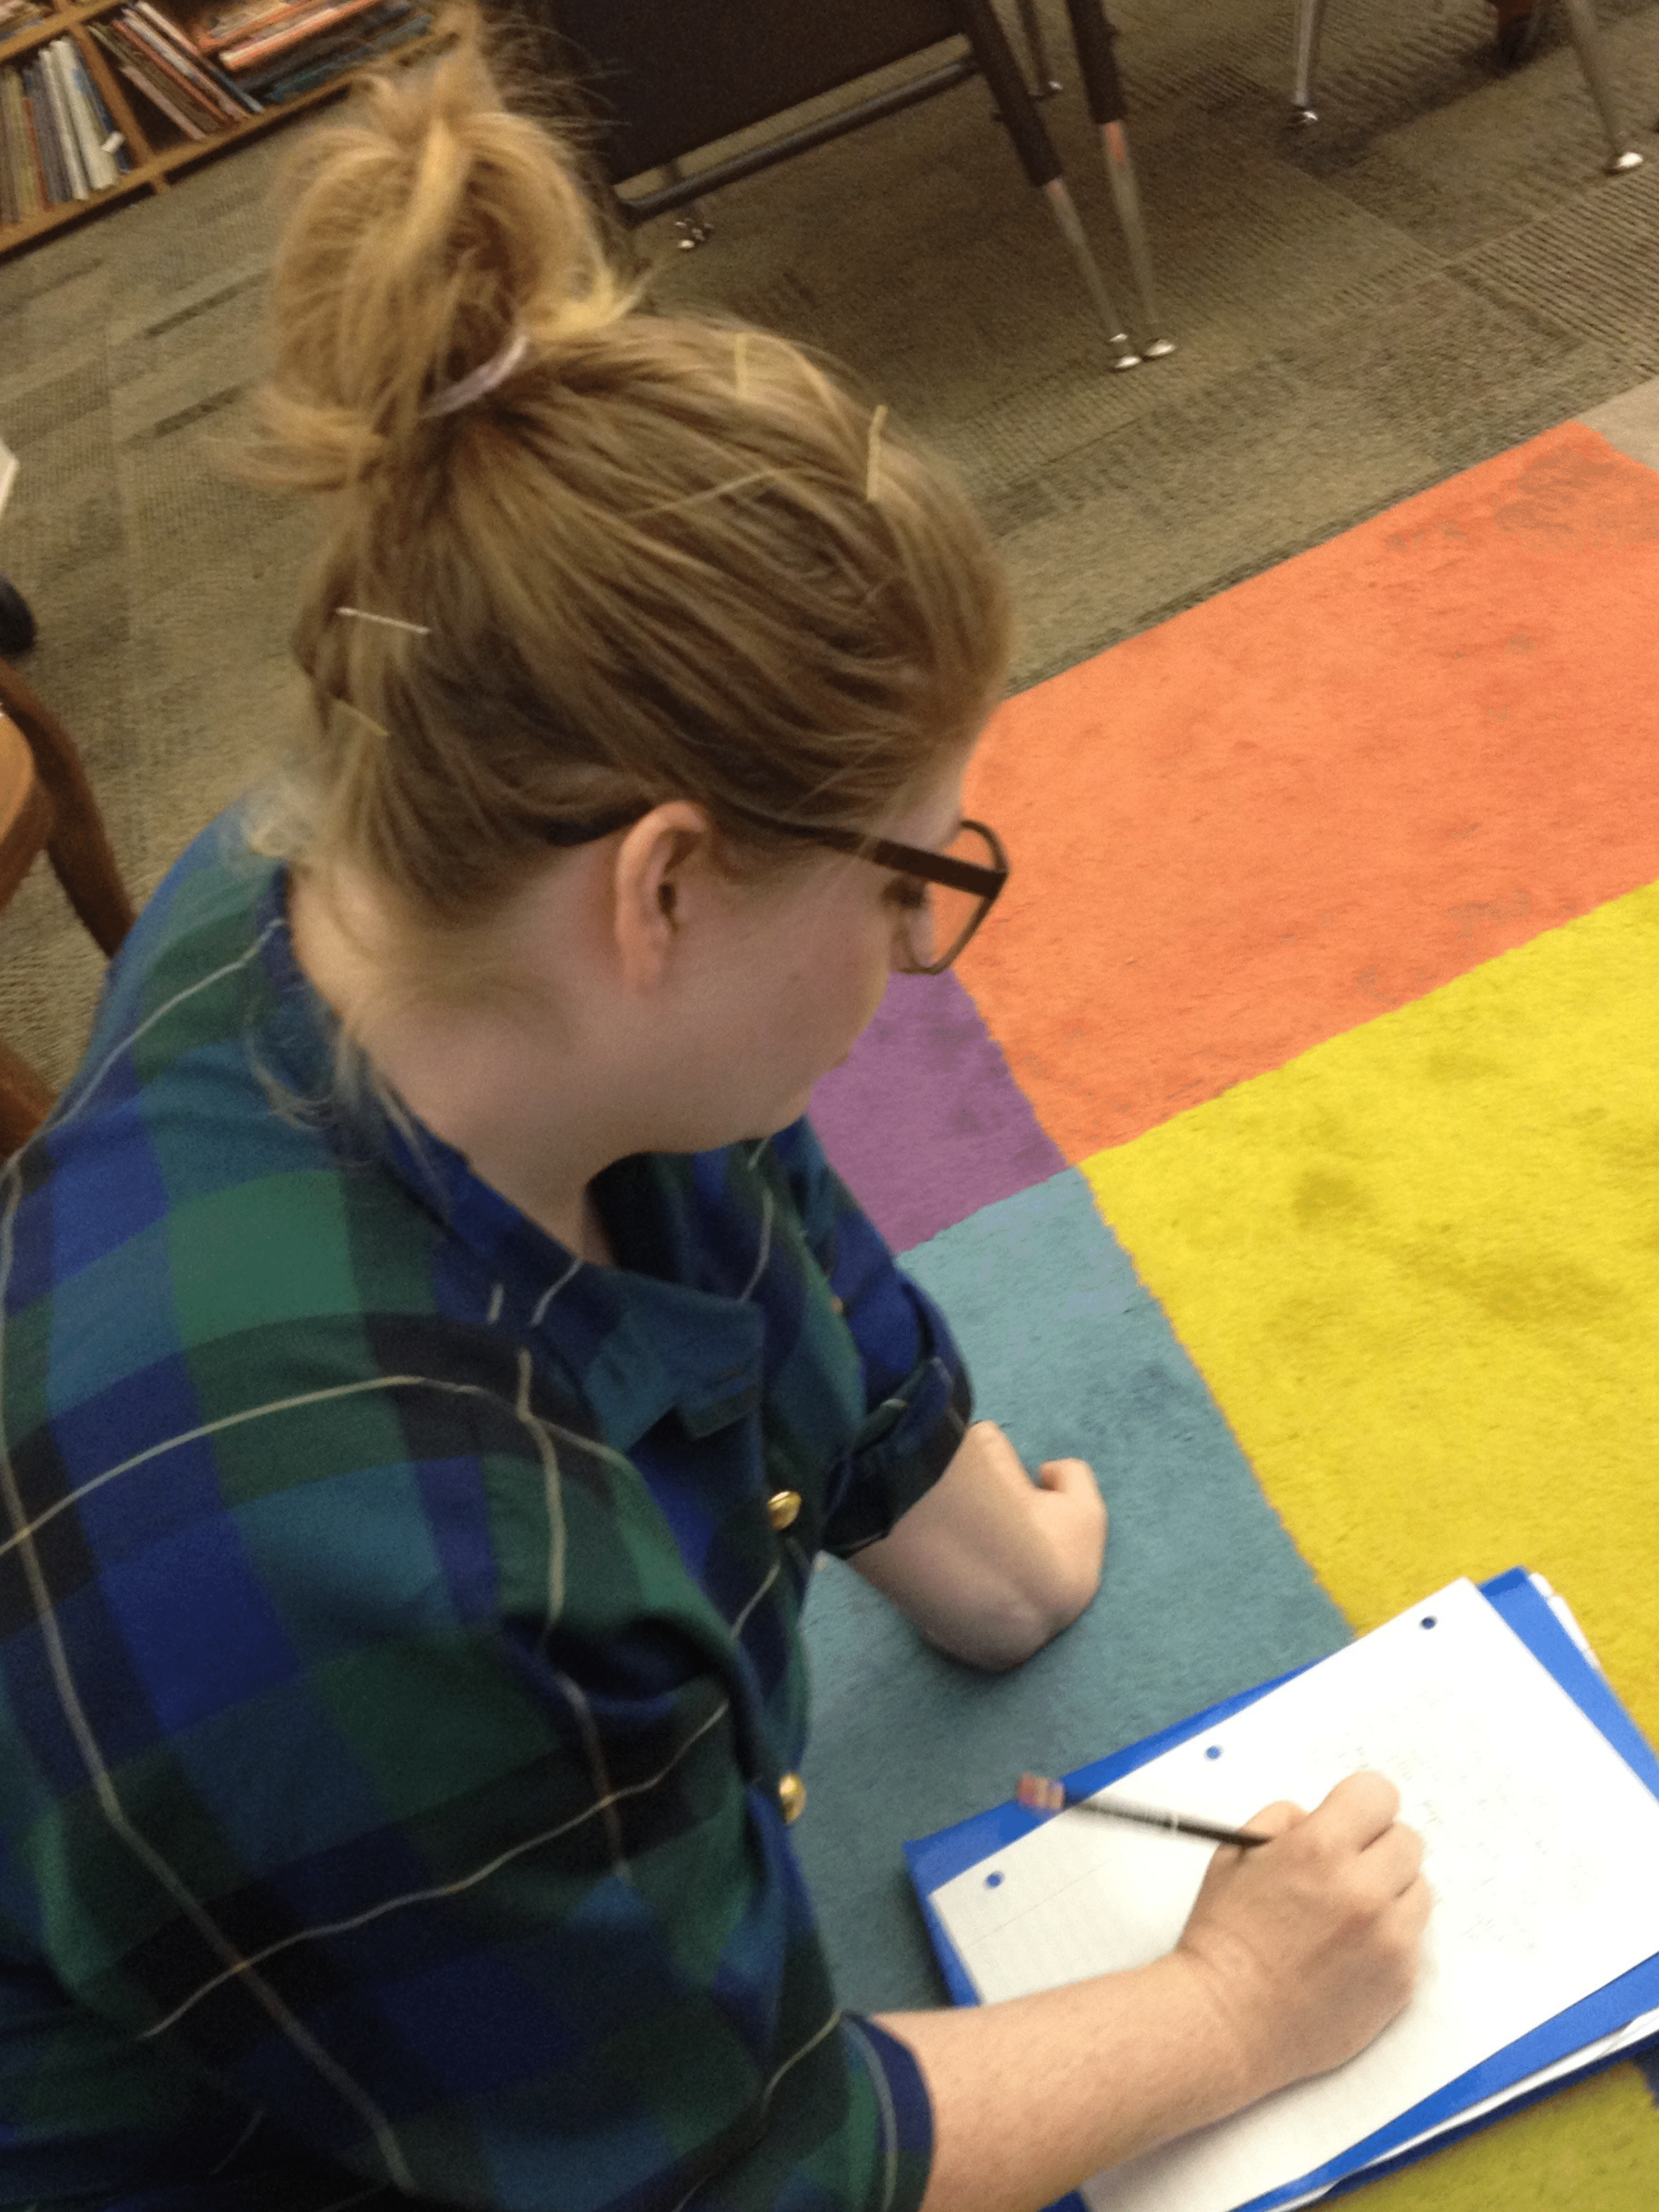
At a recent conference, I guided educators through a visualization and writing exercise. Afterward, their questions were so thoughtful, questions not only about how to facilitate writing through games, but about how writing in this way feels. They considered how large motor movement helps us access depth of emotion. We discussed visualization, and whether one can actually forget that we’re in an every day space when we’re moving through an imagined alternate world. We considered whether total immersion is necessary to tap into that deeper connection with our writing.
Our conversation reminded me how important it is, as educators who teach writing, to take time away from thinking about writing to actually experiencing it ourselves. And what better time to explore and experiment than summer?
In this Writerly Play Kit, I’ll point you toward a number of Inklings resources to spark your own creativity, and to guide you through quick writing experiences of your own. You might choose to then use these materials in your classroom. Or, you may discover new insights about accessing joy, authenticity, and depth in your writing that you can take back to your teaching. Allow yourself to write fast, to write short, and remember, there’s no “right way” to approach writing. Here’s to you and your creativity!
Play Your Way to the Page
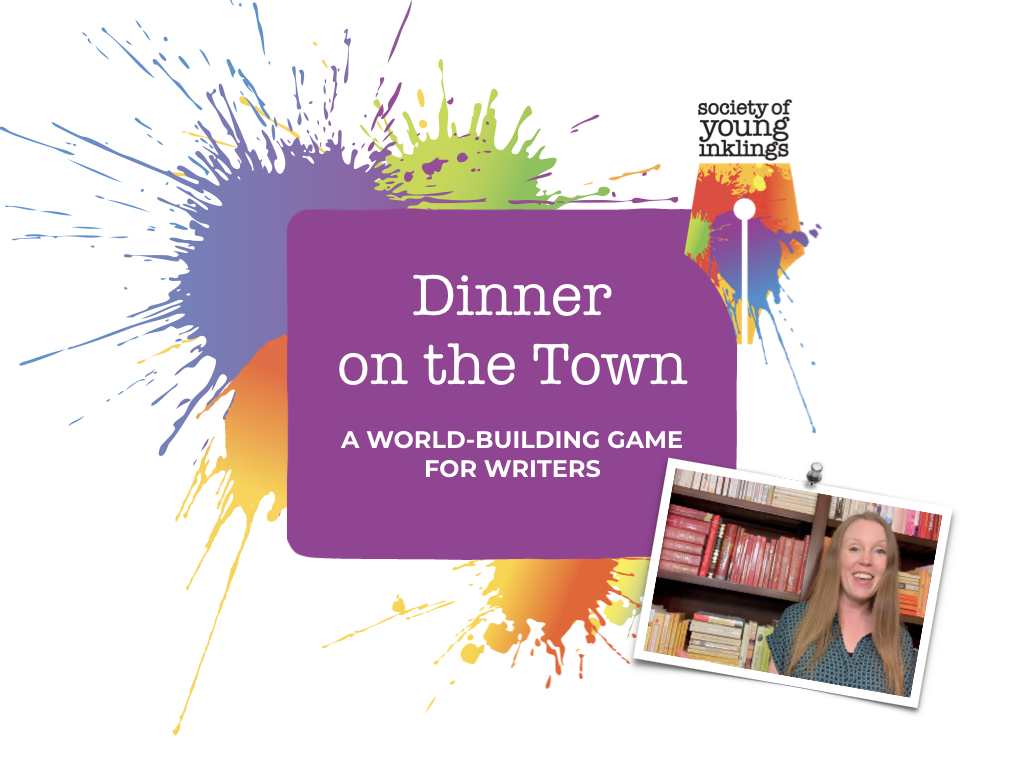
VIDEO SERIES on YOUTUBE
Build an imaginative world with this visualization exercise! Dinner on the Town is only one of the collection of short games we’ve posted on YouTube, designed to guide you through the development of an idea to a quick writing prompt. Whether you write for three minutes and are done, or decide to take the idea further is entirely up to you! Each game builds a focused skill that adds to your overall writing toolkit.
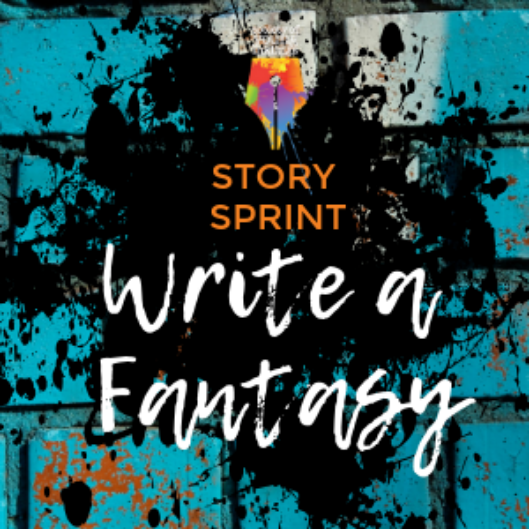
STORY SPRINT: WRITE A FANTASY
Sharpen your pencils and lace up your tennis shoes! In this fast-paced mini-course, you will sprint your way from idea to finished short story. Try out the Inklings approach yourself, and then use this start-to-finish writing experience as a creative writing unit in your classroom next year!
This experience is designed for creative thinkers who love to push past their limits. You know the best way to level up as an artist is to write the very best story you can, and once you’re done, build on all you’ve learned when you start the process again.
Whether this is the fifth or fiftieth story you’ve written from start to finish, you’ll find questions, games, and activities here to launch your thinking in new directions.
“Writing is like any other sort of sport. In order to get better at it, you have to exercise the muscle.”
― Jason Reynolds
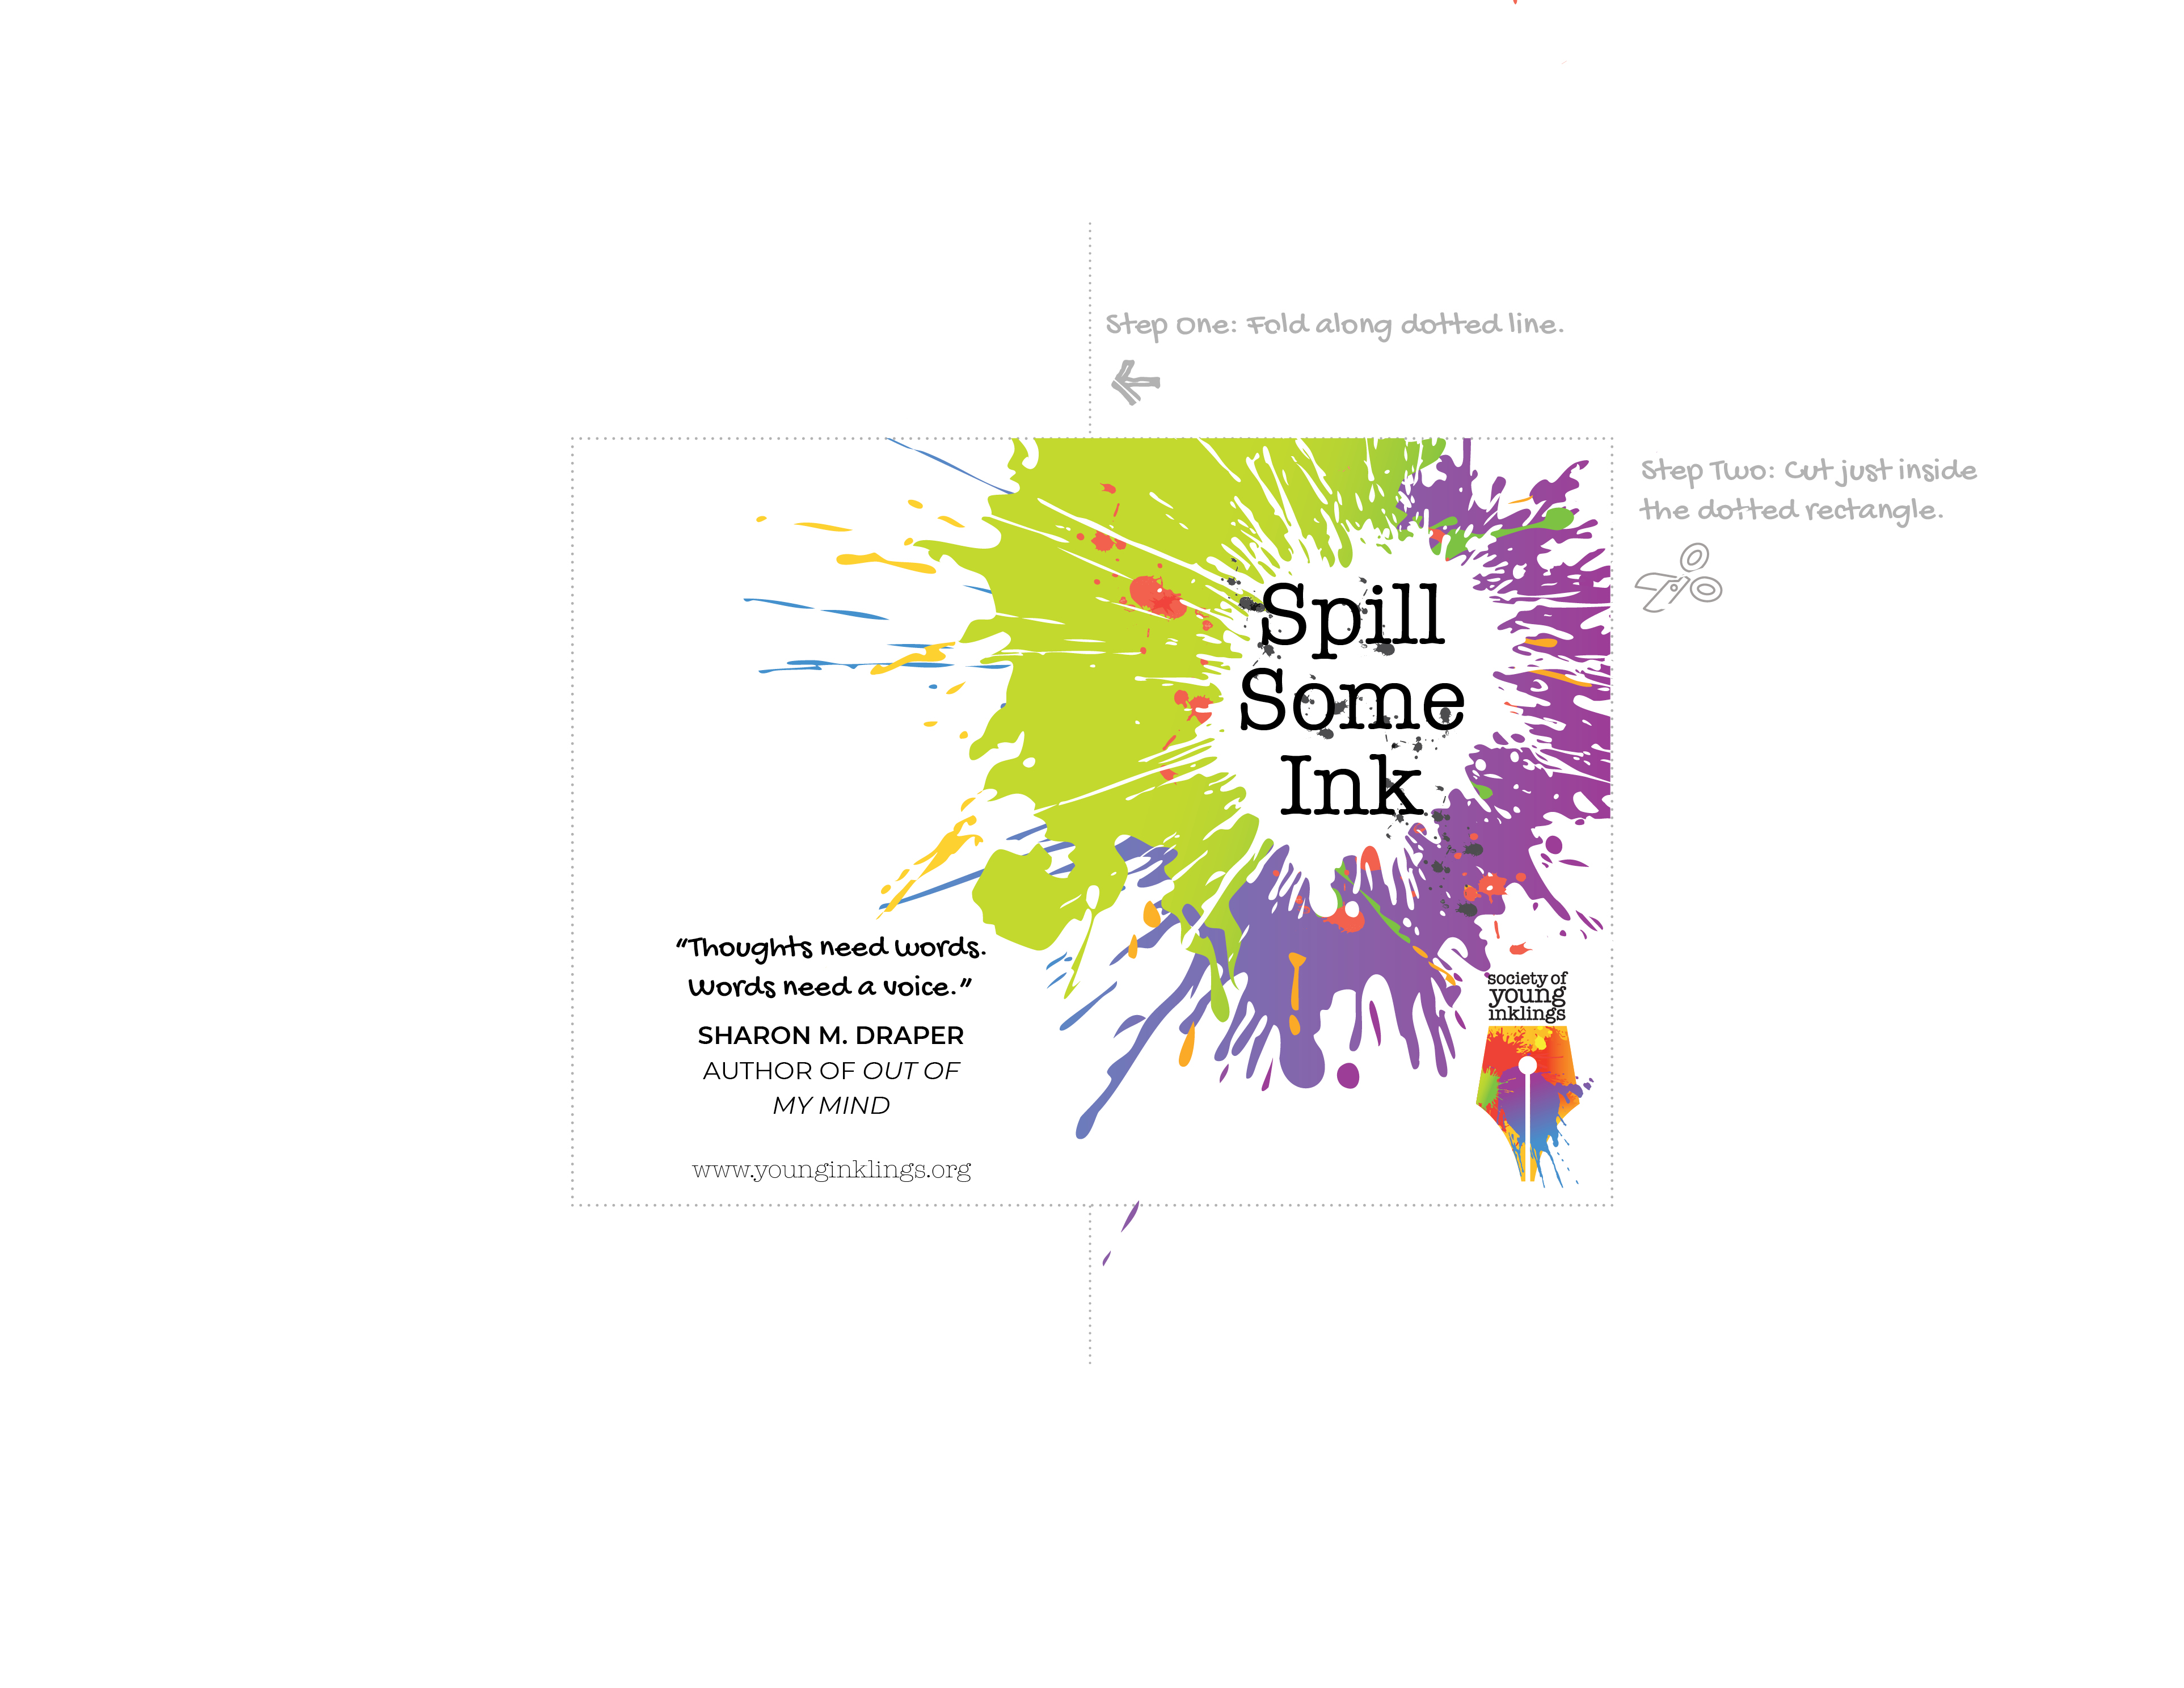
SPILL SOME INK MINI BOOK
This on-the-go writing prompt book makes any outing into a creative adventure!
Play your way past perfect as you put together this mini book. It’s a bit of a puzzle, but the video will guide you step-by-step. It shouldn’t take more than ten minutes to make, and when you’re done, you’ll have a pocket-sized book filled with prompts that adapt to your environment, such as “Choose three nearby items. Use all three in a short story or poem.”
You'll Need:
- a printer
- the interior page of the book, printed double-sided
- the cover, printed on thick paper
- one piece of regular white paper and (if possible) one piece of white card stock
- scissors
- double-sided tape or reliable glue
Instructions:
Print page one, and then feed the page through your printer again to print the second side. Make sure to feed the page correctly, so that neither page is upside down.
2. Download and print the cover.
If possible, use card stock or thick paper for the cover.
3. Fold, cut, and assemble the interior pages.
If you’re feeling puzzled, or you just want step-by-step instructions, watch the video.
4. Make sure the folds line up so the pages turn properly.
You will likely have to fold some pages the opposite way before taping the interior pages to the cover.
5. Use your tape or glue to attach the interior pages to the cover.
The pages that are supposed to be attached are labeled.
How’d you do?
(Gold star if you stared your perfectionist in the face along the way and kept on going!)